
Packing for Backpacking: What to Bring and What to Leave
Justin
May 17, 2023
Packing can be a daunting task to say the least, whether packing for a road trip or for backpacking, you can find yourself scratching your head from time to time. One of the most daunting things about packing for a backpacking trip, is the fact that you will no longer have easy access to essentials if you forget them.
We have all heard the three essentials that no living thing can live without: water, shelter, and food. These items are critical when planning any backpacking trip as a trip to the local supermarket is out of the question. If you forget to pack food, you will likely be off to bed on an empty stomach!
Water
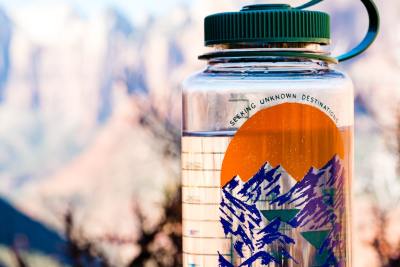
Packing for water needs can vary drastically depending on where you are backpacking. No matter where you are hiking, you must pack enough water to actually arrive at the destination (preferably with a little extra to spare). Some aspects you need to consider, are whether or not you will have access to water at your destination (lake, stream, snow, etc...).
No Water Available
If there is no water available at your destination you must bring enough to last you for the entire trip. This is naturally the heaviest and hardest option because as we all know, water weight adds up. As a general rule of thumb, if you must carry all of your water, you should carry approximately one gallon per person for each day of travel.
Water Available
If there is water available at your destination or even along the way for that matter, you can pack as little or as much as you want! Although I recommend at least packing enough to make it to and from camp if necessary. Everyone is different, but I usually carry at least two liters on any trip I take.
One of the things I cannot stress enough is to be careful when drinking water in the wilderness! I always say it is better to be safe than sorry. You already know how hard it is to be sick at home. Now imagine being miles away from your car in the woods. Not a fun thought I assure you! But don't worry, there are many options to choose from to prevent this from happening.
Water Purification Tablets
Benefits
Easy to use (simple waiting period)
Light weight
Kills viruses and bacteria
Disadvantages
Does not remove dirt or other debris from water
Water Filter
Benefits
More labor intensive (typically must pump, although some can be gravity fed)
Removes organisms, most bacteria, and occasionally viruses
Disadvantages
Does not necessarily remove viruses (depends on filter)
UV Purification
Benefits
Kills bacteria and viruses
Disadvantages
Does not remove dirt or other debris from water
Dependent on battery power
So what should you use? In most cases, I would highly recommend a water filtration system. Not only do they clean the water for you, but they also make it safe to drink. If concerned about the water quality (such as if a lot of people are around the lake regularly), I will at times add a water purification tablet just to be safe. Typically this is not necessary with modern filters as long as you use them according to manufacturers guidelines. But be sure they cover the possible contagions in your area of travel! Not all filters are created equally.
Shelter
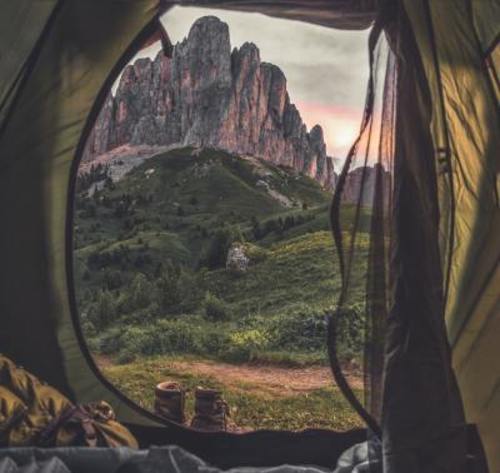
This may seem like a no brainer, we need a tent right? Well, of course you do! But nonetheless there are options to choose from ranging from your typical tent to a bivy (basically a sleeping bag sized tent) to a hammock tent.
For most people, a typical tent is the way to go. They are versatile, can fit more than one person comfortably, and most of the time even have room to store gear, whether inside
or in many cases, a vestibule.
I do not recommend a bivy for those who need room or may be claustrophobic! Think sleeping bag sized tent. They are designed to be enough room for you and nothing else. But these are the ultimate choice when trying to pack light.
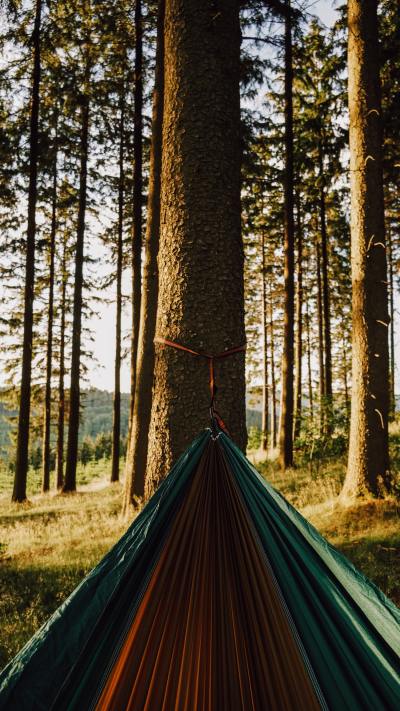
Hammock tents have gained in popularity over the years. Some have even say that hammock tents are more comfortable than a regular tent! The benefit here is that you never need to worry about rocks! The problem with them is that you may have trouble camping in areas without sturdy trees. I have not had personal experiences with these, however
Sleeping
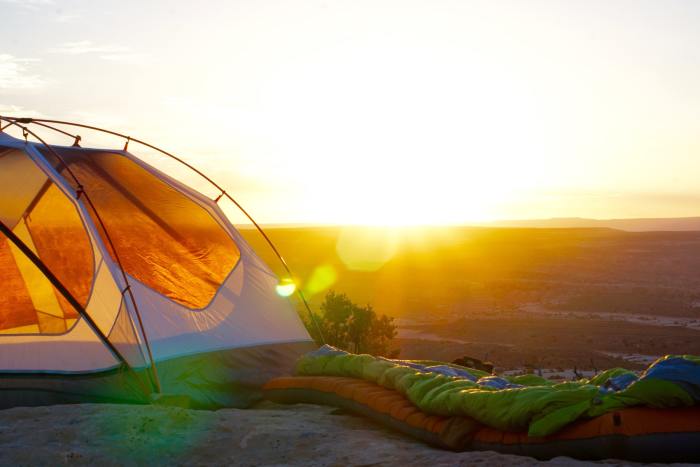
Sleeping Bag
Blankets will not do the trick here. Unless you are car camping, you will not have the room to carry enough blankets to truly be effective in keeping you warm! Depending on where you are, temperatures may fluctuate greatly between the daytime and the evening. When picking a sleeping bag, consider the temperature ranges you plan to be camping in and consider the temperature rating. Keep in mind that the temperature rating tells you the lowest temperature you can survive at, not the lowest temperature you will be comfortable at. It is not likely you will be comfortable if the temperature is truly 0 degrees and you are in a 0 degree rated sleeping bag.
Pillow
Some people will just use their backpack if you want to be truly minimal, but you can get a tiny packable down pillow or one that blows up for a fairly affordable price. I definitely think such additions are worth it. They may add a few extra ounces of weight, but sleeping without a real pillow can be a drag and simply leave you missing bed!
Food
You may have spent some time in outdoor recreation stores and seen all of the pre-packaged foods available. These often range from lasagna to ice cream. You may have also noticed the price tag. It may seem outrageous... but that's because it is! I cannot stress enough that backpacking does not need to be that expensive when it comes to feeding yourself. You will be spending enough on gear, trust me. Some of the simplest meals can be made from a simple box of mac and cheese with a can of chili added (look for an easy open can!). This happens to be one of my go to meals for an overnight trip. It is cheap, fairly lightweight, and tastes good at the end of the day. Make sure you also pack easy meals for while on the trail and for your destination. It is always better to pack more food than you think you will need than to find yourself starving at the end. Always remember to expect the unexpected however. What if your stove tips over and you lose half of your meal!
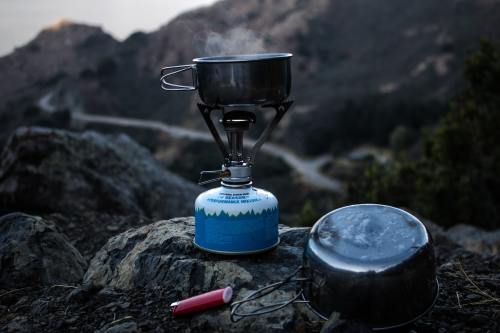
Cooking Stoves
You have several options for stoves, each with different fuel requirements. What you pick will depend on your location, preference, and the kind of backpacking you do.
Wood
There are a few options when it comes to backcountry stoves that utilize wood. One great one is the Solo stove, which essentially runs off of twigs that you find around the campsite. Another is the BioLite stove, which has the added feature of being able to charge usb devices while running. Beware when choosing wood based stoves however, as many locations may have a ban on these. Especially if you live in an area with a high fire risk during the summer months.
Gas
These are the most versatile and, in most cases work the best with the least amount of work. They are lightweight, allowed essentially anywhere, and are extremely effective. The only downside here is the cost of fuel and the space it takes in your pack. Depending on how much fuel you are carrying, this can add up quickly.
Safety and Visibility
Safety should always be the next priority after your ability to survive. Here is a quick list of items that I would highly recommend keeping in your pack for every trip and replacing as needed!
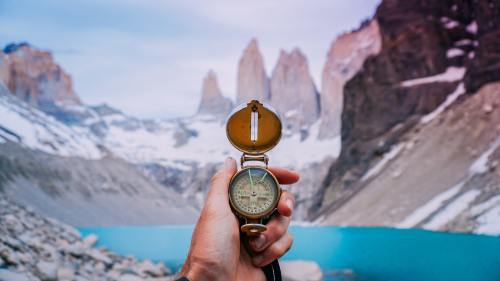
Some way to navigate (popular trails are often clearly visible, but it is good to be prepared) such as map, compass, GPS, or a satellite communicator at least. Just remember that electronics can fail...
Extra batteries
Way to start a fire (also needed to start your stove)
Knife (you have no idea how much this comes in handy. I even one to create a simple rope leash for my dog once.)
Light (headlamp, flashlight, etc...)
First aid (band aids, pain relievers, etc...)
Sun protection (I find the small squeeze bottles of lotion to be the best option as they are easy to carry and can fit in your first aid kit)
One of the most important things, tell someone at home where you are going and when you will be back. Remember 127 Hours? Yeah, don't let that be you.
Clothing
Let's face it, we aren't going to be able to bring our best clothes up the mountain and for that matter, why should we?! Suits and dresses are for the office and that life you are trying to escape from. When choosing clothing, pack layers and plan for the worst weather possible (I mean if it is July, you may not need to plan for snow... but everywhere is different). In addition to layers, think synthetics! Cotton has a terrible tendency of getting wet and staying wet, it is heavy, and it is bad when it comes to maintaining steady body temperature. That doesn't mean you can never bring it, but I do not recommend it if it is avoidable.
As for how much clothing? Everyone is different, but clothes quickly take up valuable space. A good rule of thumb is you should always have something to comfortably change into if something happens to the clothes you are wearing at the least.
Staying Comfortable
Just because you are in the backcountry, doesn't mean you cannot be comfortable! No matter what happens, you will likely miss the sleep you normally get at home with a mattress, but there are things you can do to help bring the two worlds a bit closer together.

Sleeping Pad
Sleeping pads not only protect you from that rock that happens to be under your tent, but they also help keep you warmer by insulating you from the ground. When you pick a sleeping pad one of the best things you can do is try them in person, much like a mattress. Some places like REI, have entire areas setup where you can test them out before buying. There are also a few different types to choose from, none of which are perfect for everyone.
Air Pads
Pros:
Comfortable
Light weight
The most compact
Adjustable firmness
Cons:
More expensive
Easily punctured (may not be the best choice with an active dog)
Self Inflating Pads
Pros:
Comfortable
Relatively compact (but not as compact as air pads)
More durable than air pads
Cons:
Heavier
Can still be punctured
Foam Pads
Pros:
Lightweight
Cheap
Durable
Cons:
Less comfortable
Stiff and firm without ability to adjust
Bulky
Bug Spray
Bug spray is a great item to have at your disposal. There are definitely times (let's face it, most of the time), where you cannot escape bugs. Especially if you are near any sort of water. The last thing you want to be doing is swatting at mosquitos all day. The good news is there are many effective options out there and even the natural options work well enough.
Toiletries
This may seem like a no-brainer, but it is easy to miss! Check local guidelines for whether you can bury waste or if you need to pack it out. In any case, I always carry a lightweight trowel and a roll of toilet paper. Some people swear by using paper towels as they are more durable.
Okay, so this is just a fancy name for a giant wet napkin. But I find they are extremely nice to have at the end of the night before you settle down into your sleeping bag. Plus, it can't hurt getting some of the days bug spray off you before you head to bed.
Packing Tips
Lay everything out first or at least have a checklist. It is easy to start putting things in the many pockets of a backpack and then lose track of whether or not you packed something or not. I can't even begin to tell you how many times I would start packing, only to wonder whether or not I had even packed everything at the end. Even the best of memories can lose track!
Pack heavier items towards the bottom. It lowers your center of gravity and makes the hike much easier, as it balances the weight and keeps you from tipping over! Especially if you have to bend over to tie your shoe!